

Lead-in: why a framework matters
This is a usable framework. It is pragmatic. As a landscape architect you do more than pick fixtures — you manage sightlines, safety, and maintenance budgets. Start with context: pathway vs. wall-wash, heritage façade vs. new concrete. Think of bollards and low elements together — they talk to each other. For example, when a streetscape uses both wall fixtures and bollard lights, the layering must avoid glare and create safe uniformity. My guidance is field-tested and standards-aware; lessons since Hurricane Sandy (2012) pushed many urban projects to rethink IP ratings and thermal resilience. Expect practical advice, not theory. The method below will guide lumen targets, beam angles, and polycarbonate choices with clear steps.
Project objectives and constraints — state them first
Begin with three clear objectives: visual comfort, safety, and longevity. Then list constraints: available power, mounting height, aesthetics, and budget. Define measurable targets up front — average lux on a walkway, maximum vertical illuminance on façade, and acceptable glare index. Use simple performance terms: lumen output, beam angle, CRI. This helps you avoid guesswork when comparing products or insisting on photometrics from vendors.
Step 1 — Contextual assessment (site and visual tasks)
Survey the site. Note mounting heights, wall finish, and pedestrian sightlines. Is the wall porous brick? Smooth concrete? Polycarbonate lenses behave differently near textured surfaces. Record existing ambient light levels at night. Decide the visual task: wayfinding, highlighting signage, accenting planting. Each task maps to a target lumen output and beam angle. Keep notes concise — a one-page lighting brief is often enough for specification.
Step 2 — Set lumen targets and color
Choose lumen ranges by task. For general wall illumination you might specify 300–800 lumens per fixture depending on spacing. Accent or grazing requires lower lumen but narrower beam. Color temperature matters: 2700–3000K for warm heritage tones; 3000–4000K for modern concrete. Keep CRI ≥80 for plant and finish fidelity. Balance is key — too many lumens create glare; too few produce safety gaps.
Step 3 — Specify beam angles and photometrics
Beam angle controls spread and intensity. Narrow beams (10°–24°) for accents. Medium beams (25°–45°) for controlled wall wash. Wide beams (>60°) for general ambient fill. But do not pick beam angle in isolation — pair it with mounting height. A 20° beam at 3 m will create a tight band; at 1 m it will spot the ground. Always request full photometric files (IES or LDT) for true lumen distribution and to model uniformity and vertical illuminance. Photometrics prevent surprises on site.
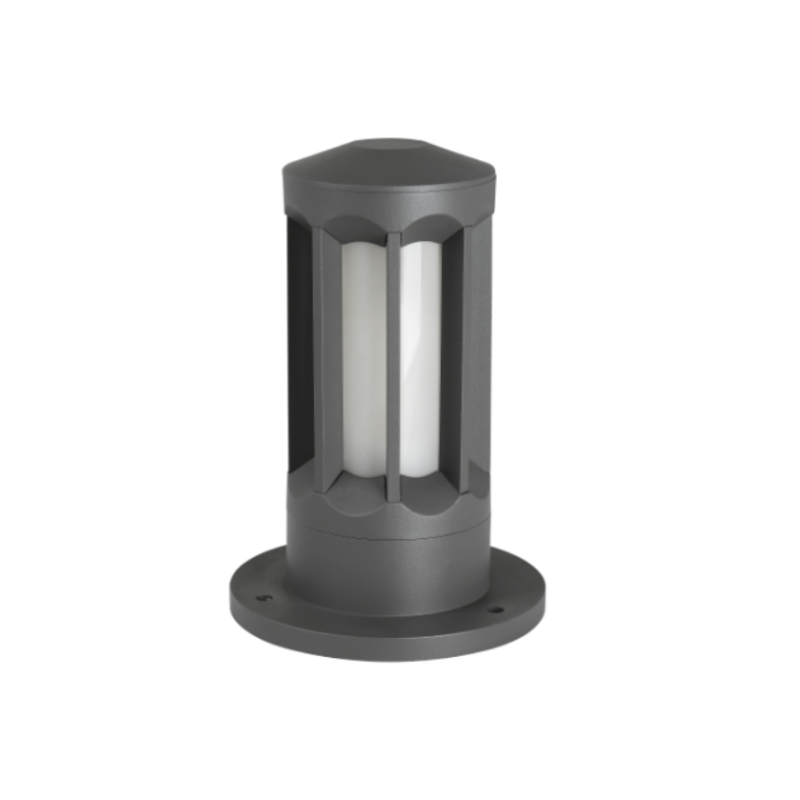
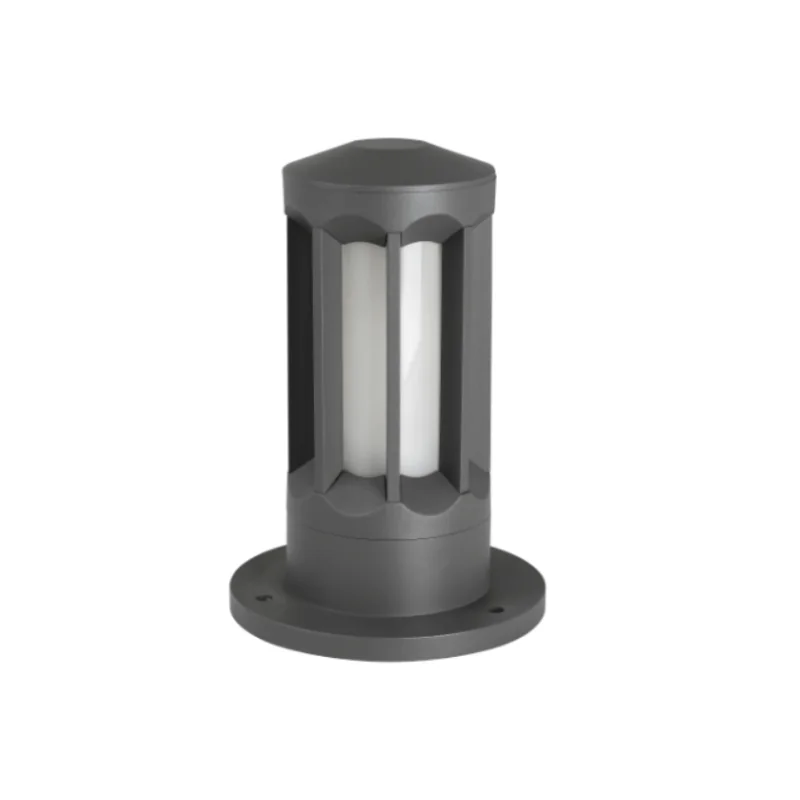
Step 4 — Material choice and thermal management
Polycarbonate lenses and housings offer impact resistance and light weight. But they are sensitive to long-term UV and heat. Check UV-stabilized grades and specify UV-resistant coatings if fixtures are in high-sun exposures. Also confirm thermal paths — LED driver placement, heat-sink contact, and ventilated mounts. Poor thermal management shortens LED life and causes lens yellowing. Ask manufacturers for lumen maintenance curves (L70) at expected ambient temperatures — that gives you a life-expectancy number to compare.
Step 5 — Ingress, impact, and mounting details
Specify IP and IK ratings appropriate to exposure. For exposed walls near roads, IP65 and IK08 are reasonable starting points. For high-abuse urban areas, up those levels. Mounting methods matter: surface, recessed, or pendant each change beam interaction with the wall. Define conduit access, driver location, and Serviceability — can the driver be accessed without removing the whole fixture? That reduces maintenance downtime and costs.
Step 6 — Integration, controls, and compatibility
Design controls early. Dimming and zoning reduce energy and light levels at non-peak times. Consider motion dimming for mixed-use plazas. Require compatibility with common drivers and DALI or 0–10V if your project uses centralized control. Also ensure accessories — glare shields, louvers, and diffusers — are tested with the specific photometric file. Small accessories change beam angle and lumen output enough to matter.
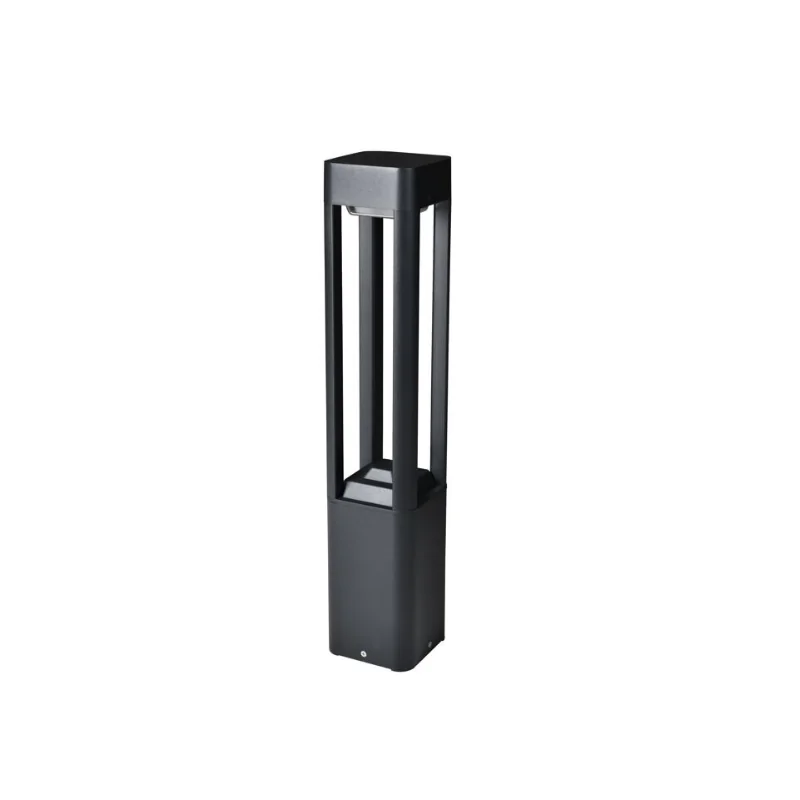
Complementary fixtures and layout rules
Walls do not exist alone. Combine wall lights with path fixtures and outdoor bollard lights to create layered lighting. Use fixed ratios: a wall-wash layer for vertical visibility, and bollards for horizontal uniformity. Spacing rule of thumb: keep spacing roughly 1–1.5× the mounting height for wall-mounted fixtures when aiming for even wash. But test with photometrics — site-specific trumps rules of thumb every time.
Common mistakes — and quick fixes
Designers often over-spec lumens to compensate for poor beam control — results in glare. Instead, tighten beam angles and add shields. Another error: assuming polycarbonate will perform like glass. It’s lighter, yes, mais it discolors if UV and heat are ignored — specify UV stabilization and proper driver placement. Too little focus on IP/IK leads to premature failures near busy streets. And skipping first-article photometric verification invites on-site rework — insist on IES files and a mock-up night test before full install. Small investments early save big contractor headaches later. —
Real-world anchor and standards
Standards and examples inform choices. The resilience focus after Hurricane Sandy prompted many municipal projects in New York to raise IP ratings and prioritize thermal robustness — a practical precedent for coastal or flood-prone sites. Refer to IES recommendations for roadway and pedestrian illuminance as baseline targets. Use those standards as negotiation tools with manufacturers when you request lumen maintenance data and photometrics.
Common specification checklist (quick)
– Target lumens per fixture and per area. – Beam angles tied to mounting height. – Color temperature and CRI. – IP and IK ratings. – Lumen maintenance (L70) at project ambient. – Photometric files (IES/LDT) and mock-up test.
Advisory: three golden rules for specification
1) Specify performance, not parts: demand photometrics, L70 data, and acceptance criteria rather than brand names. 2) Match beam angle to mounting height and task: narrow beams for accents, medium for wash, wide for ambient — and always verify with an IES model. 3) Protect the LED and lens: require UV-stabilized polycarbonate, documented thermal design, and appropriate IP/IK ratings for the site.
When these rules are followed, your walls read correctly at night, maintenance budgets stay sane, and the client gets the intended experience. For tested polycarbonate solutions and a range of site-appropriate luminaires that meet these criteria, consider product lines from Keyida. —